
31 Jul 2025
The key to essentially tender, fluffy, melt-in-the-mouth idlis? It begins with the best batter and I’m displaying you precisely how on this recipe.

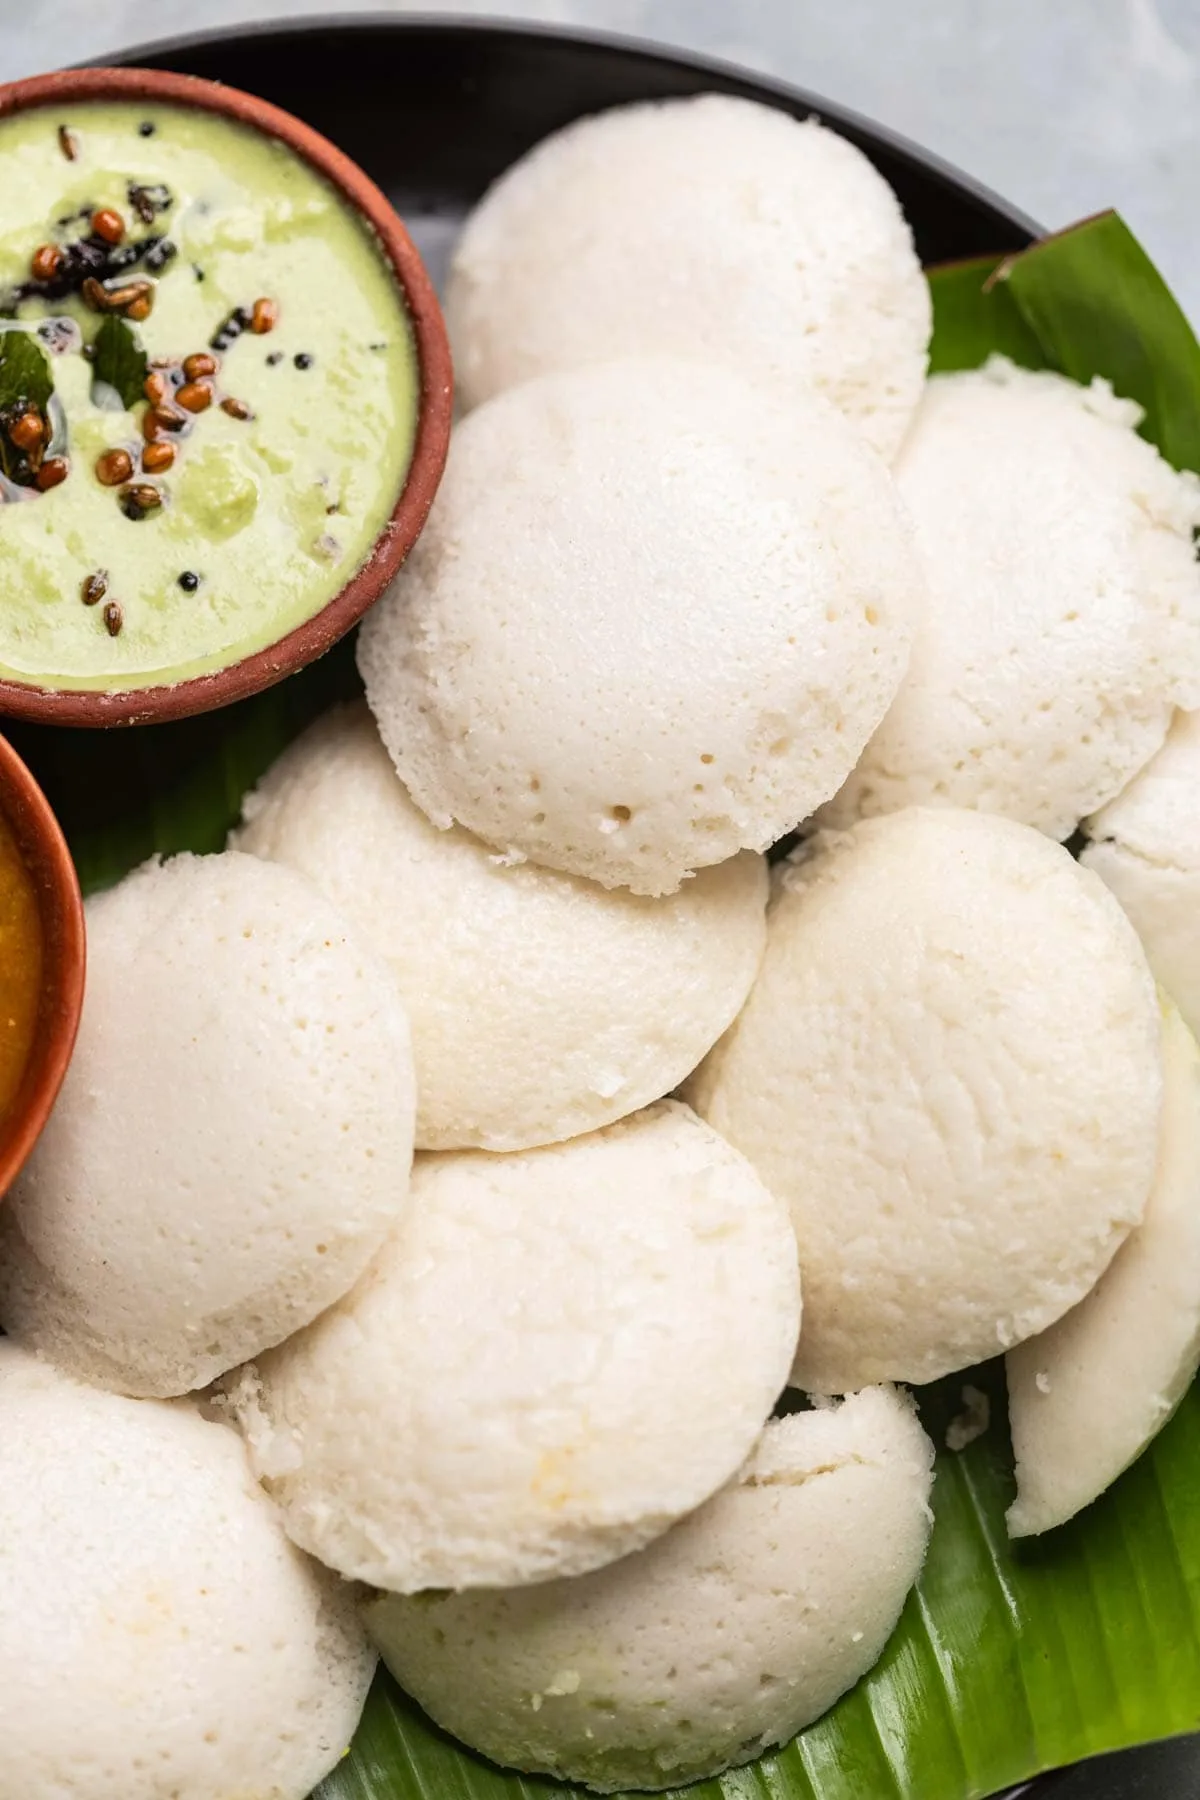
There’s one thing extremely comforting a couple of plate of heat, tender idlis straight from the steamer. They’re mild, fluffy, naturally gluten-free, and take in sambar and chutneys like a dream. Over time, I’ve tried a bunch of strategies, however this one has develop into my go-to as a result of it’s fast and straightforward.
This recipe makes use of my home made idli dosa batter, which is a complete recreation changer. It provides you completely tender idlis with a mild tang and that signature texture all of us love. So let’s get began!
For the idli batter:
For steaming idlis:
Idli is a tender, steamed rice cake constituted of a fermented batter of rice and urad dal. It’s a well-liked and wholesome South Indian dish usually served with chutney and sambar.
All of it begins with a well-fermented batter. Make certain the batter has a light-weight, ethereal texture and a slight bitter scent earlier than utilizing. Utilizing poha and fenugreek seeds additionally helps enhance the feel.
It must be thick, simply pourable and will fall in ribbons with out being too runny.
Fermentation relies on heat and time. If it’s chilly, place the batter in your oven with the sunshine on or in a heat spot. Additionally guarantee your urad dal shouldn’t be very previous.
Brief-grain rice like sona masoori can work in a pinch, however idli rice is most well-liked for its starch content material and provides higher leads to texture and fluffiness.
That is often due to under-fermented batter or the fallacious ratio of rice to dal. Additionally, make certain to not over-steam the idlis, as that may make them arduous and dry.
Due to the fermentation course of, the batter turns into wealthy in probiotics and extra bioavailable, that means your physique can take in the vitamins (particularly B nutritional vitamins and minerals like iron) rather more simply.
To ferment in chilly climates, pre-heat the oven to 180C for 10 minutes. Flip off the oven, look forward to a couple of minutes to let the temp come down barely after which place the batter in a single day within the oven.
For 10 minutes on excessive. Place the idli mildew within the steamer solely as soon as the water involves a roaring boil. Cowl the steamer and begin your 10 minute timer. After 10 minutes, flip off the flame, wait for two minutes and take the idlis out, allow them to relaxation for an additional 2-3 minutes after which demold them.
Delicate, fluffy idlis are a meal on their very own however they shine brightest with basic South Indian sides:
The phrase idli is believed to have originated from the Tamil phrase “ittu” that means “to put” and “ali” that means “to ferment.” Whereas variations of steamed rice truffles existed throughout Southeast Asia, the idli as we all know it in the present day started showing in South Indian literature way back to 920 CE! Over a thousand years later, it’s nonetheless going robust—tender, humble, and endlessly comforting.
Idlis have this quiet sort of allure, pillowy consolation that by no means goes out of favor. When you’ve nailed the batter, there’s no wanting again. From breakfast staples to lunchbox heroes, they slot in all over the place.
If that is your first time making them at residence, I promise it’s definitely worth the little little bit of prep. And when these fluffy rounds come steaming out of the pot, you’ll know precisely why we’re all obsessed. Don’t neglect to pair them with sambar, coconut chutney, or that fiery podi, pure magic in each chew.
Tried it out? Tag me on Instagram @my_foodstory, I’d like to see your idli spreads!
Stop your display screen from going darkish
Wash and soak idli rice, urad dal, poha and methi seeds in sufficient water in a manner that there’s not less than an inch of additional water over the rice and dal.
As soon as the grains have soaked for about 8 hours, drain the surplus water from the bowl.
Grind the idli rice-urad dal combine with cooked rice till virtually easy with approx. 1 ½ cups water and 4-5 ice cubes in a mixer grinder. Add extra water if required. The consistency must be such that it may well depart a thick coat on the again of a spoon and falls in a ribbon like consistency when poured with a ladle. The bottom batter ought to really feel very barely gritty between your fingers.
Pour the batter right into a bowl that’s giant sufficient so that there’s room for the batter to rise. Combine the batter with clear palms as proven within the video – this is a vital step because it helps within the fermentation so please don’t skip it.
Cowl the bowl and put aside to ferment. Go away it in a heat, dry place away from direct daylight to ferment. Fermentation takes wherever between 12-24 hours relying on the humidity and temperature at your home. The hotter it’s, the sooner it’ll ferment.
As soon as fermented, the batter ought to have develop into virtually 1.5 instances its measurement with a slight dome form and a wrinkle, bubbly layer on high. It is best to have the ability to scent just a little sourness within the batter. This scent means it has fermented. Whether it is too bitter, it has fermented an excessive amount of! You should utilize a spoon to test the batter – the feel must be frothy with air bubbles. This may yield approx. 1.75 litres (6-7 cups) of batter.
Take out 2 cups of batter in a bowl, add ½ teaspoon of salt and blend effectively.
Warmth water in an idli steamer and convey to a boil. Grease the idli plate with oil or ghee so it’s simpler to demould the idlis.
Solely as soon as the water within the steamer involves a roaring boil, pour batter into the idli mould and fill them up virtually to the highest (as proven within the video).
Place the idli mould within the steamer and steam on excessive for 10 minutes until the idlis are cooked. To test doneness, insert a toothpick within the centre of idlis and it ought to come out clear.
Let the idli mould relaxation within the steamer for two minutes, then take it out and let it cool for an additional 2-3 minutes. Use a spoon or butter knife to demould the idlis from the idli plate.
This text was researched and written by Harita Odedra.
Subscribe to get the latest posts sent to your email.

Leave a Reply